Ceiling Painting in Overland Park, KS

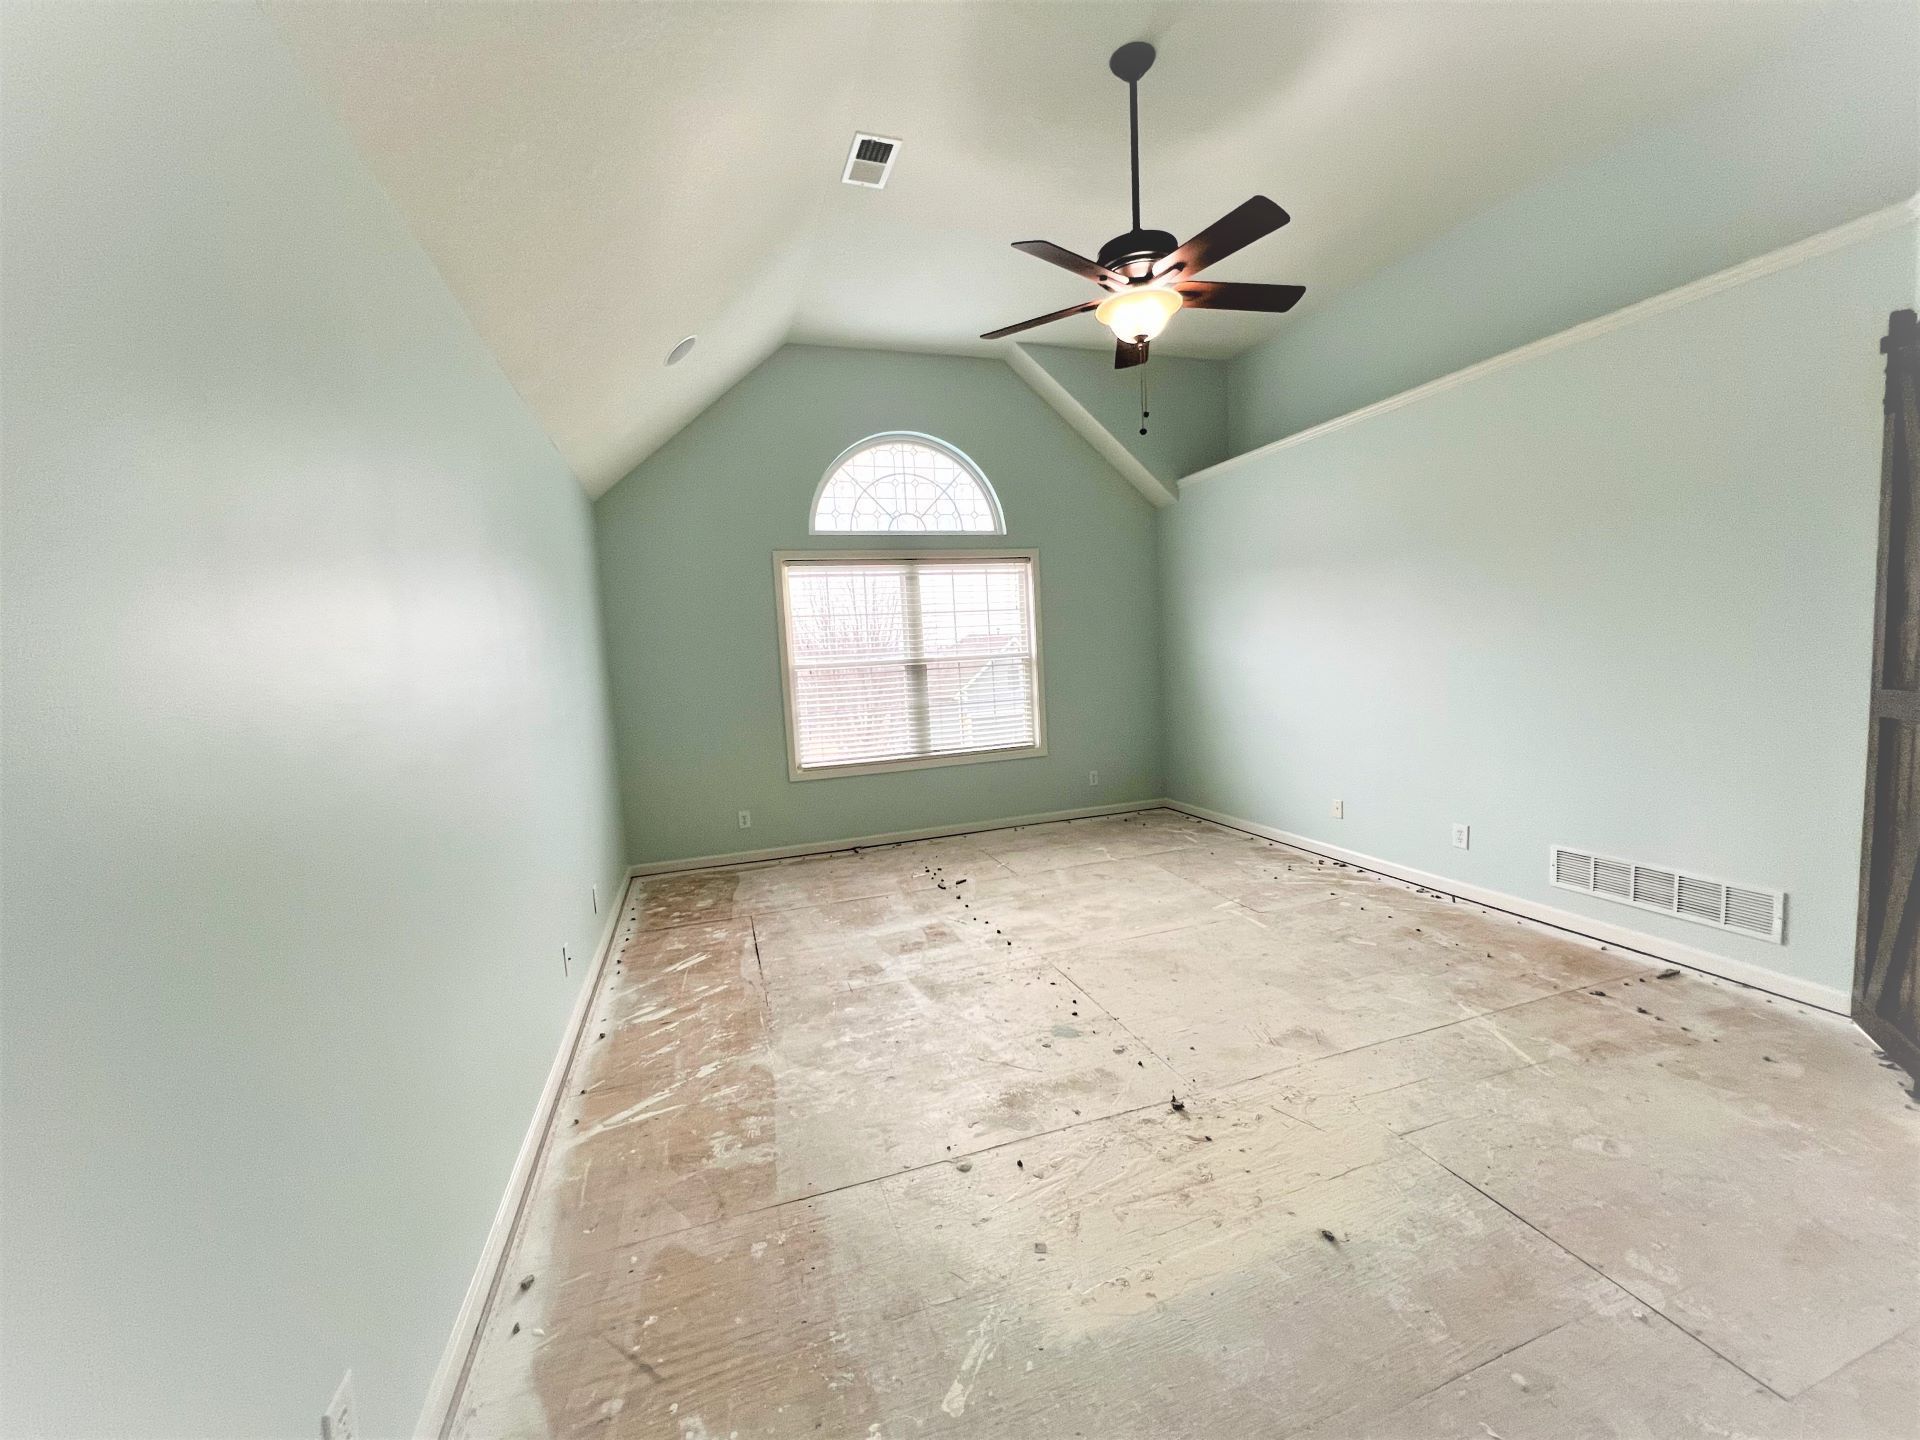
Look up. If your ceiling is yellowed, stained, or just looks flat and tired, it is pulling the whole room down with it.
Most people repaint walls, update floors, and swap out light fixtures before they ever think about the ceiling. A clean, freshly painted ceiling might be the fastest way to make a room feel new again.
Cougar Painting handles ceiling painting for homeowners throughout the area. Here is what goes into doing it correctly.
Getting the Edges Right
The line where your ceiling meets the wall tells you everything you need to know about the quality of the painter. A crisp, clean edge makes the whole room look sharp. A ragged or uneven line makes both surfaces look sloppy, no matter how well the rest of the job was done.
Before any paint goes up, Cougar Painting protects your walls, trim, and fixtures. Then we cut in the edges by hand before rolling the field. That order matters. Cutting in after rolling almost always leads to visible overlap lines that show up clearly once the paint dries. Doing it first gives you a clean, consistent finish from edge to edge.
What to Do About Stains and Old Repairs
Not every ceiling is a blank slate. Water stains, grease buildup near vents, smoke discoloration, and old patches that were never blended properly are common in homes across Johnson County. Painting over them without the right prep is one of the most common mistakes in interior painting.
Here is why that matters. Water stains contain minerals that bleed right through standard ceiling paint. The stain looks covered when the paint is wet. As it dries, the stain comes back. The only way to stop that from happening is to seal the stain with a shellac or oil-based primer before the finish coat goes on.
Old patches need attention too. A patch that was not feathered out or textured to match the surrounding ceiling will show as a raised or sunken shape under fresh paint, especially in rooms where light comes in at an angle from a window. We blend and texture repairs to match before any painting begins.
Not All Ceilings Are the Same
Flat drywall, knockdown texture, popcorn, vaulted, coffered. Each one requires a different approach and technique.
On flat drywall, the goal is even coverage and a clean flat finish. New drywall and freshly repaired areas need primer first or the finish coat will absorb unevenly and show thin spots.
Textured ceilings are more demanding. The texture has peaks and valleys, and paint has to get into both consistently. Too little product or too fast a pace leaves the valleys thin and creates sheen variation that shows up under direct light. Getting a textured ceiling to look even takes patience and the right roller nap for the texture depth.
Vaulted and cathedral ceilings require working at height across varying angles. The scale of these ceilings makes any inconsistency easy to spot, so coverage has to be dialed in from the start. Coffered ceilings need precise brush work in every recess and panel edge before rolling begins. That detail work cannot be rushed.
Why Ceiling Paint Is Not Just White Wall Paint
A lot of painters use whatever is left over from the walls on the ceiling. That is a shortcut that shows up fast.
Ceiling paint is formulated to be thicker than wall paint, which reduces dripping when you are rolling overhead. It also dries to a dead flat finish, which matters because even small surface imperfections cast shadows under overhead lighting. A sheen level that works on a vertical wall will highlight every roller mark and texture variation on a horizontal ceiling above you.
In bathrooms and kitchens, the product choice matters even more. Those ceilings deal with steam, humidity, and grease that break down standard paint over time.
How The Process Goes
Every single project, regardless of size, follows the same seven steps. This is not a checklist we invented just for the website. It is how we have operated since day one.
1. Initial Connection
- Quick call, text, or online inquiry
- Discuss scope, priorities, and concerns
- Schedule your in-person estimate
2. On-Site Consultation
- Evaluate surfaces, condition, and prep needs
- Identify repairs (wood rot, caulking, etc.), including detailed measurements and photos
- Discuss colors, finishes, and overall vision
3. Detailed Proposal
- Defined scope of work
- Prep, materials, and process outlined
- Optional upgrades & recommendations included
4. Project Planning & Color Selection
- Color consultation guidance
- Scheduling and timeline confirmation
- Detailed DocuSign completed work order
- Pre-project expectations reviewed
5. Pre-Paint Walkthrough
- Document pre existing conditions with photos
- Confirm scope and details with crew leader
- Protect your home and surroundings
6. Professional Execution
- Thorough prep work
- Clean, organized job site daily
- Consistent communication throughout
7. Final Walkthrough & Completion
- Walkthrough with client and project manager
- Complete final punch list items
- Final approval before closing the project
Request Your Free Estimate
No spam, no pressure, just a conversation. We'll respond in 1 business day.
WHY COUGAR PAINTING
- Woman-owned, process-driven company
- Documented 7-step process on every painting job
- Uniformed, background-checked crews
- PDCA-standard final walkthrough
- 4.9★ rating -100+ Google reviews
- 0% financing through Synchrony
- Serving Johnson County since 2012