What to Do After Removing Popcorn Ceiling
March 27, 2023
A ceiling is a key element in a space's architectural and interior design. It helps control sound around an area, adds security, and improves the overall ambiance of a room.
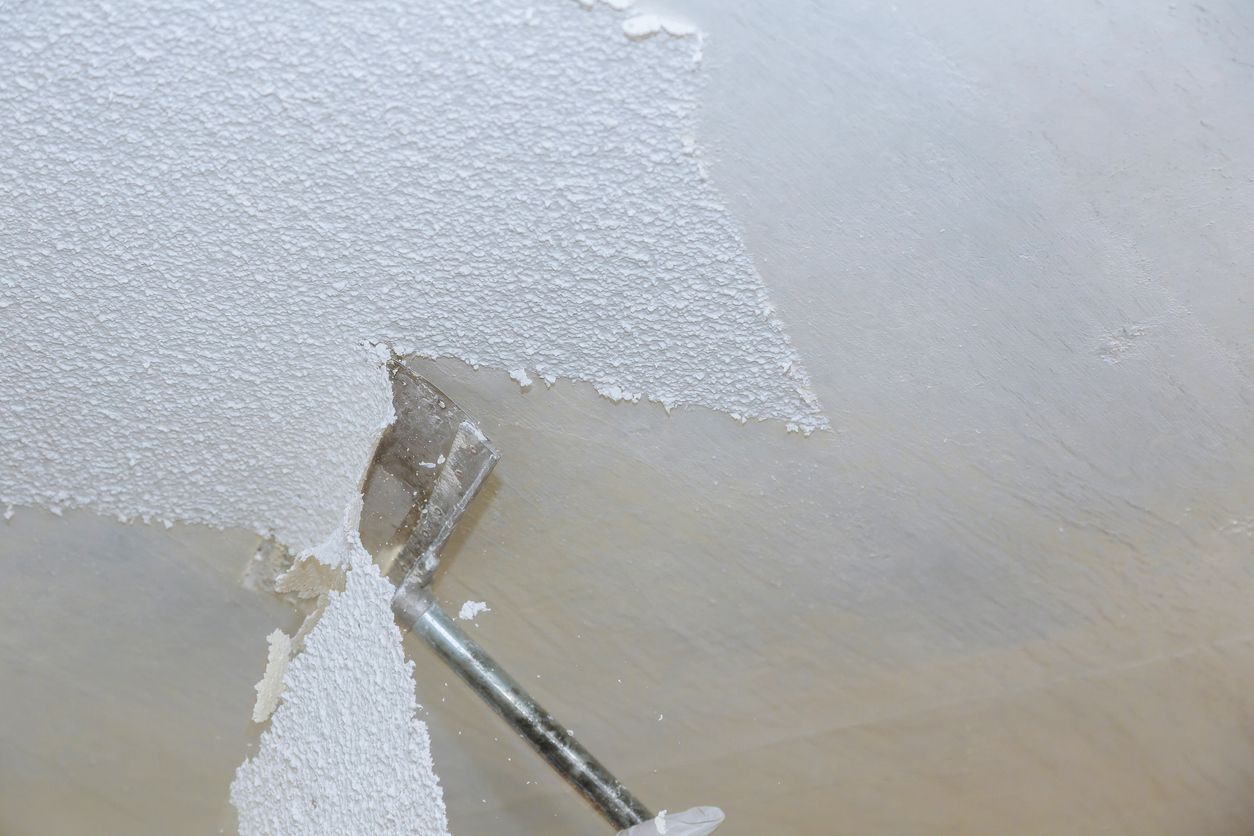
While there are various types of ceilings, there is also a myriad of options when it comes to ceiling finishes – amongst the types of ceiling finishes is popcorn ceiling which today has accumulated a wealth of negative connotations such as: dust trapping, presence of asbestos, and decrease in home's resale value.
Whether your decision to get rid of the popcorn ceiling is influenced by its negative connotations or you want to give your space a fresh look, involving professionals can help you achieve a smooth popcorn ceiling removal process.
But now that the popcorn ceiling is successfully removed, what next? Here is a step-by-step guide on what to do after clearing a popcorn ceiling.

Follow These Steps For A Smooth Painting Process
Step 1: Prepare the Ceiling for Painting
After a successful popcorn ceiling removal, the first essential step is preparing the ceiling. Ceiling preparation involves two steps:
- Skimming the surface smooth: You can use sandpaper or a sanding block to even out rough surfaces. You should start with coarse grit (60-80) sandpaper and finish with a super fine grit (180-220) for better results.
- Cleaning the surface: After sanding the ceiling thoroughly, you should wipe away the dust with a damp cloth and let it dry completely before proceeding to the next step.
Step 2: Choose Your Paint Type
When choosing the ideal type of paint after your popcorn ceiling removal, consider the following:
- Sheen: So, what sheen of paint should ceilings be? Well, when it comes to ceiling painting, glossier paints are not recommended because they are overly reflective and tend to draw the eye upward. Although there is no written rule, most experts prefer to use flat or matte acrylic paint because they are less reflective and do not detract from the rest of the room. Worth noting in areas with high humidity paints with a glossy sheen, such as satin, are the best because they deflect moisture instead of absorbing it.
- Color: When choosing the color, it's important to remember that lighter tones make a ceiling feel higher, while darker shades and tints tend to make a ceiling feel lower.
- Durability: When evaluating the durability of paint, it's important to go for high-performance paints because they are easy to apply, they are resistant to stains and mildew, and they are easy to clean.
PRO TIP: When choosing the ceiling color, always stick to the space's color palette – it will help you strike the right balance and cohesiveness.
Step 3: Prime the Ceiling with a Quality Primer
Priming a surface before painting is crucial. It helps:
- Seal or cover imperfections
- Offers a superior surface adhesion for the top coat
- Seals stains
While there are different types of primers, such as oil-based, latex, and shellac primer, it's always wise to consult an expert when choosing one that meets your needs and preferences. Once you have applied a primer – at least two coats – allow it to dry completely before proceeding to paint.
Things To Do Before Priming
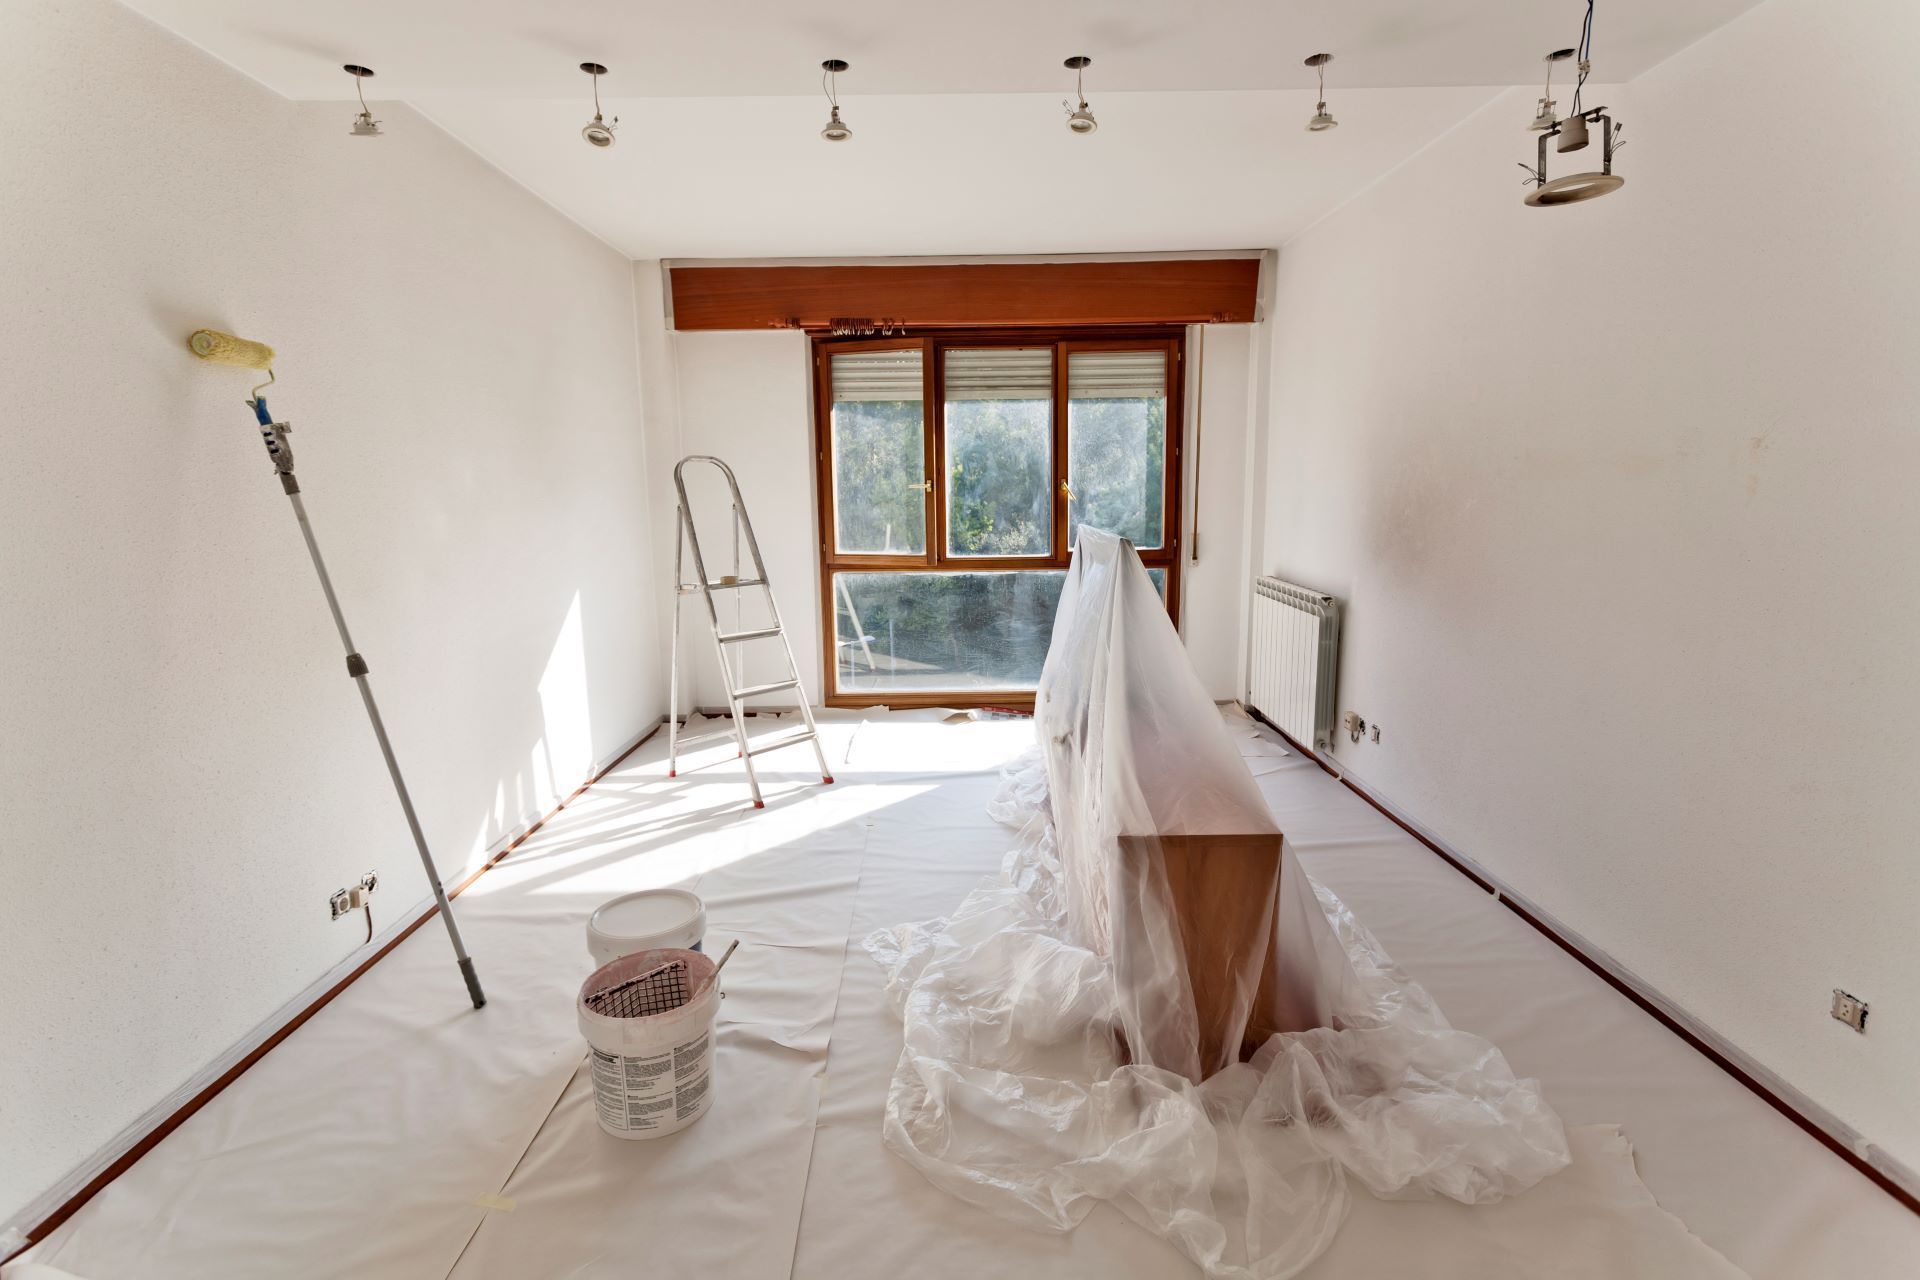
- Clear the room, or cover anything you don't want to be painted
- Cover any power outlet
- Tape around the edges with painter's tape
- Get your ladder read
Step 4: Apply the Top Coat of Paint to the Ceiling
Before painting, ensure the painting brush or roller is high quality to ensure even painting. Then, similarly to wall painting, use a brush to paint around the edges or light fixtures to create borders. Then you can dip your roller in the paint, start from one end, and move steadily in parallel motion.
Applying at least two coats is a good rule of thumb for any painting project. After you've applied the first coat, you should wait for a minimum of six hours for the second recoat. You can also touch up any areas that require additional coverage.
Step 5: Add Finishing Touches
Once you are done painting, you can finish touches such as molding or wallpaper borders to tie everything together and achieve a neat finish.
Step 6: Seal Everything with a Clear Coat of Polyurethane or Varnish
Once you are done with the above steps, you can finish off by adding a splash of clear coat to offer a protective layer. After that, enjoy the spoils of your popcorn ceiling removal with your freshly-painted smooth ceiling!
Mistakes to Avoid When Painting After a Popcorn Ceiling Removal
- Using the wrong painting brush: Oil-based paints are more compatible with natural-bristle brushes, while latex or water-based paints are more consistent with synthetic brushes
- Overbrushing can cause ridges or uneven brush marks
- Leaving the painter's tape one on for too long may pull out some fresh paint
- Painting in a dimly lit space can prevent you from seeing potential imperfections
- Painting during moist weather can prevent paint from sticking to the surface properly
- Overloading your painting brush or rollers leads to a wastage of paint
Let the Experts At Cougar Painting Help You
Cougar Painting has you covered for all your painting projects. As the premier paint services provider in Overland Park, we are confident that our highly trained team can help with all your interior and exterior painting needs for residential and commercial projects. What's more, we also handle cabinet refinishing! Contact us today for more details.
CONTACT US TODAY!
RECENT POSTS


