

Discover how Sherwin-Williams’ 2025 Color Capsule can transform your home. Explore tips for using each color to create stunning, personalized spaces!
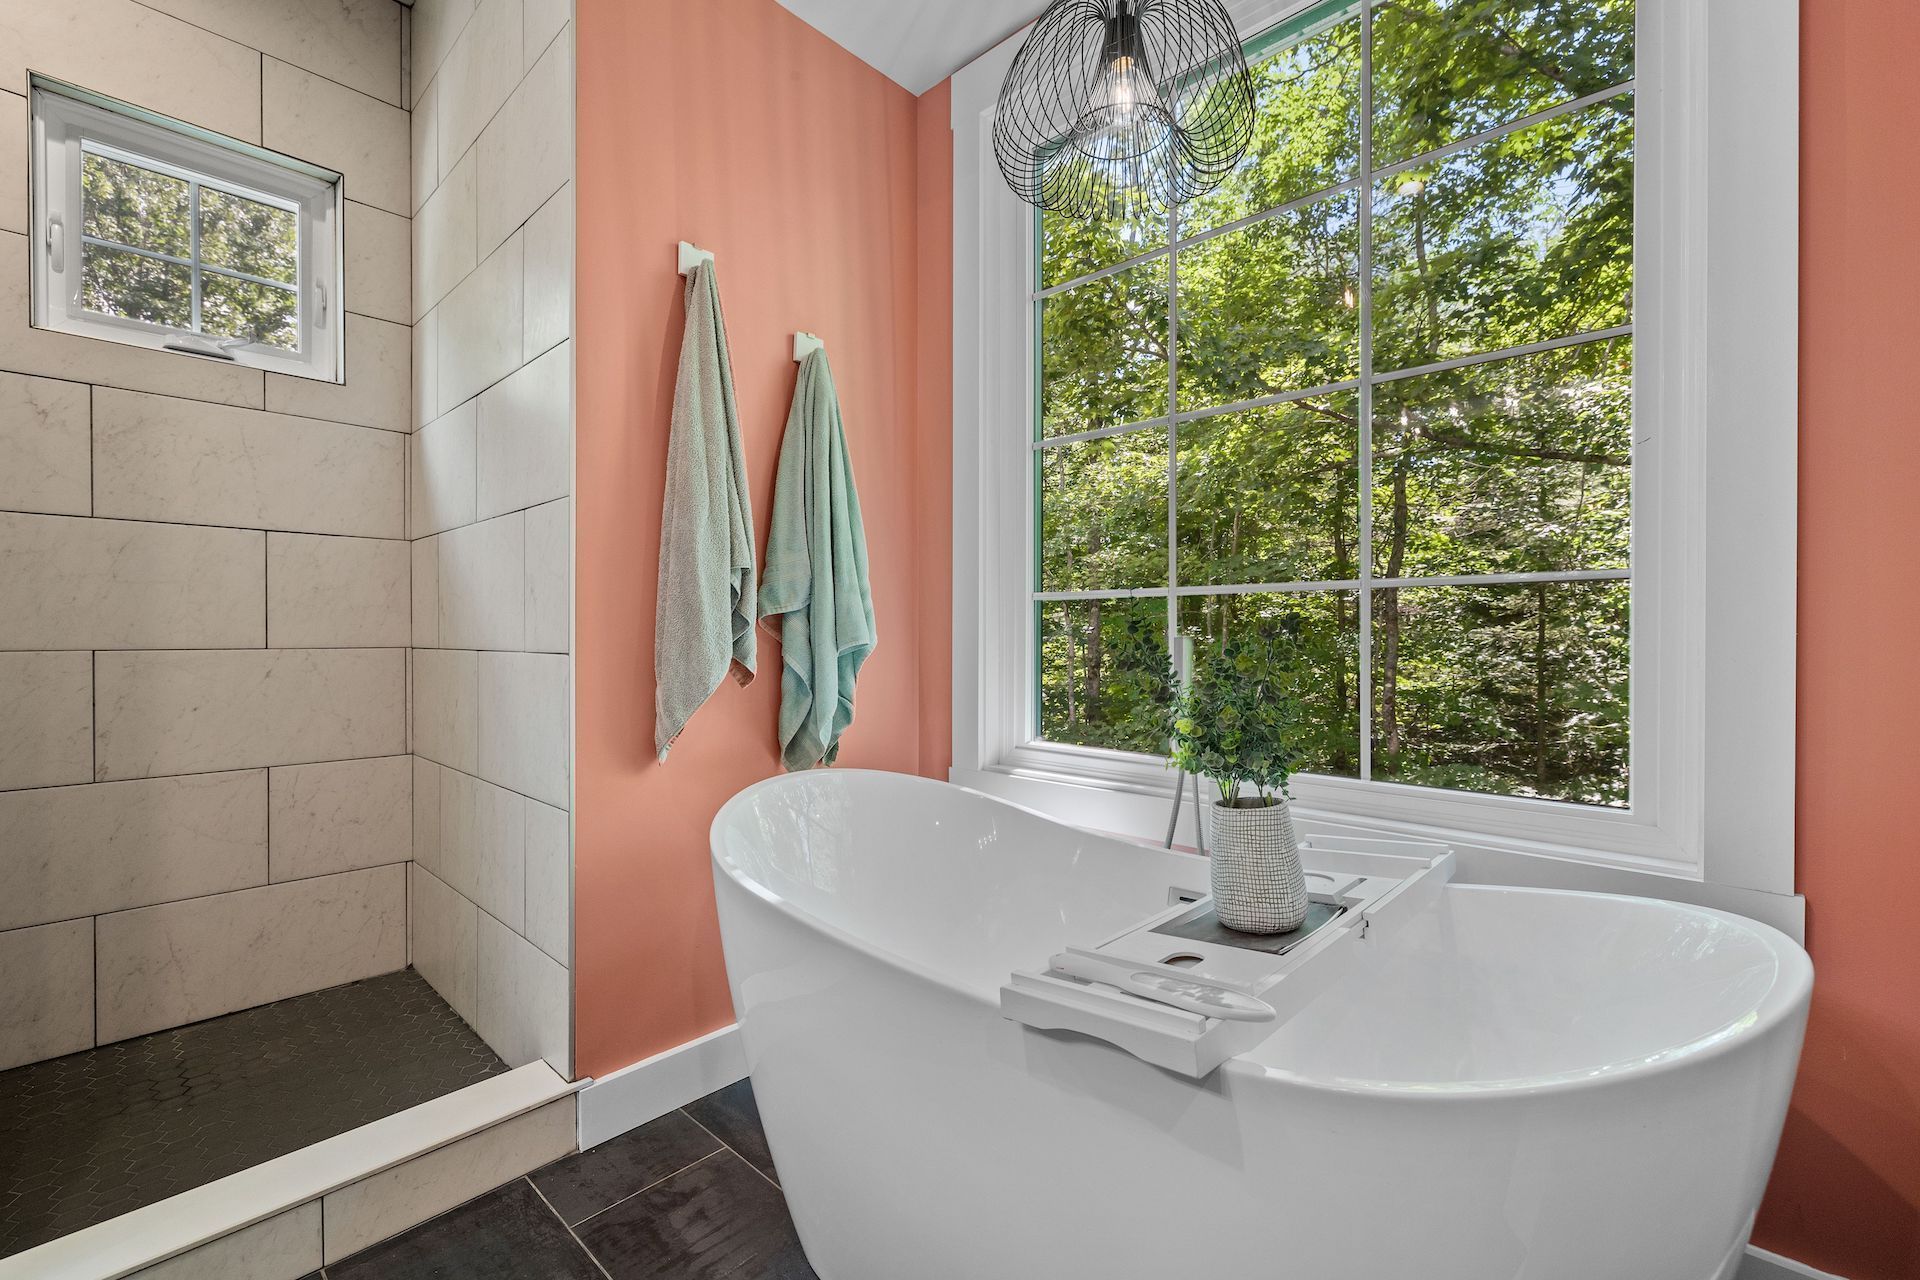
Discover the best paint sheens for your bathroom! Learn which finish suits your space and why. Contact Cougar Painting in Overland Park for expert help.
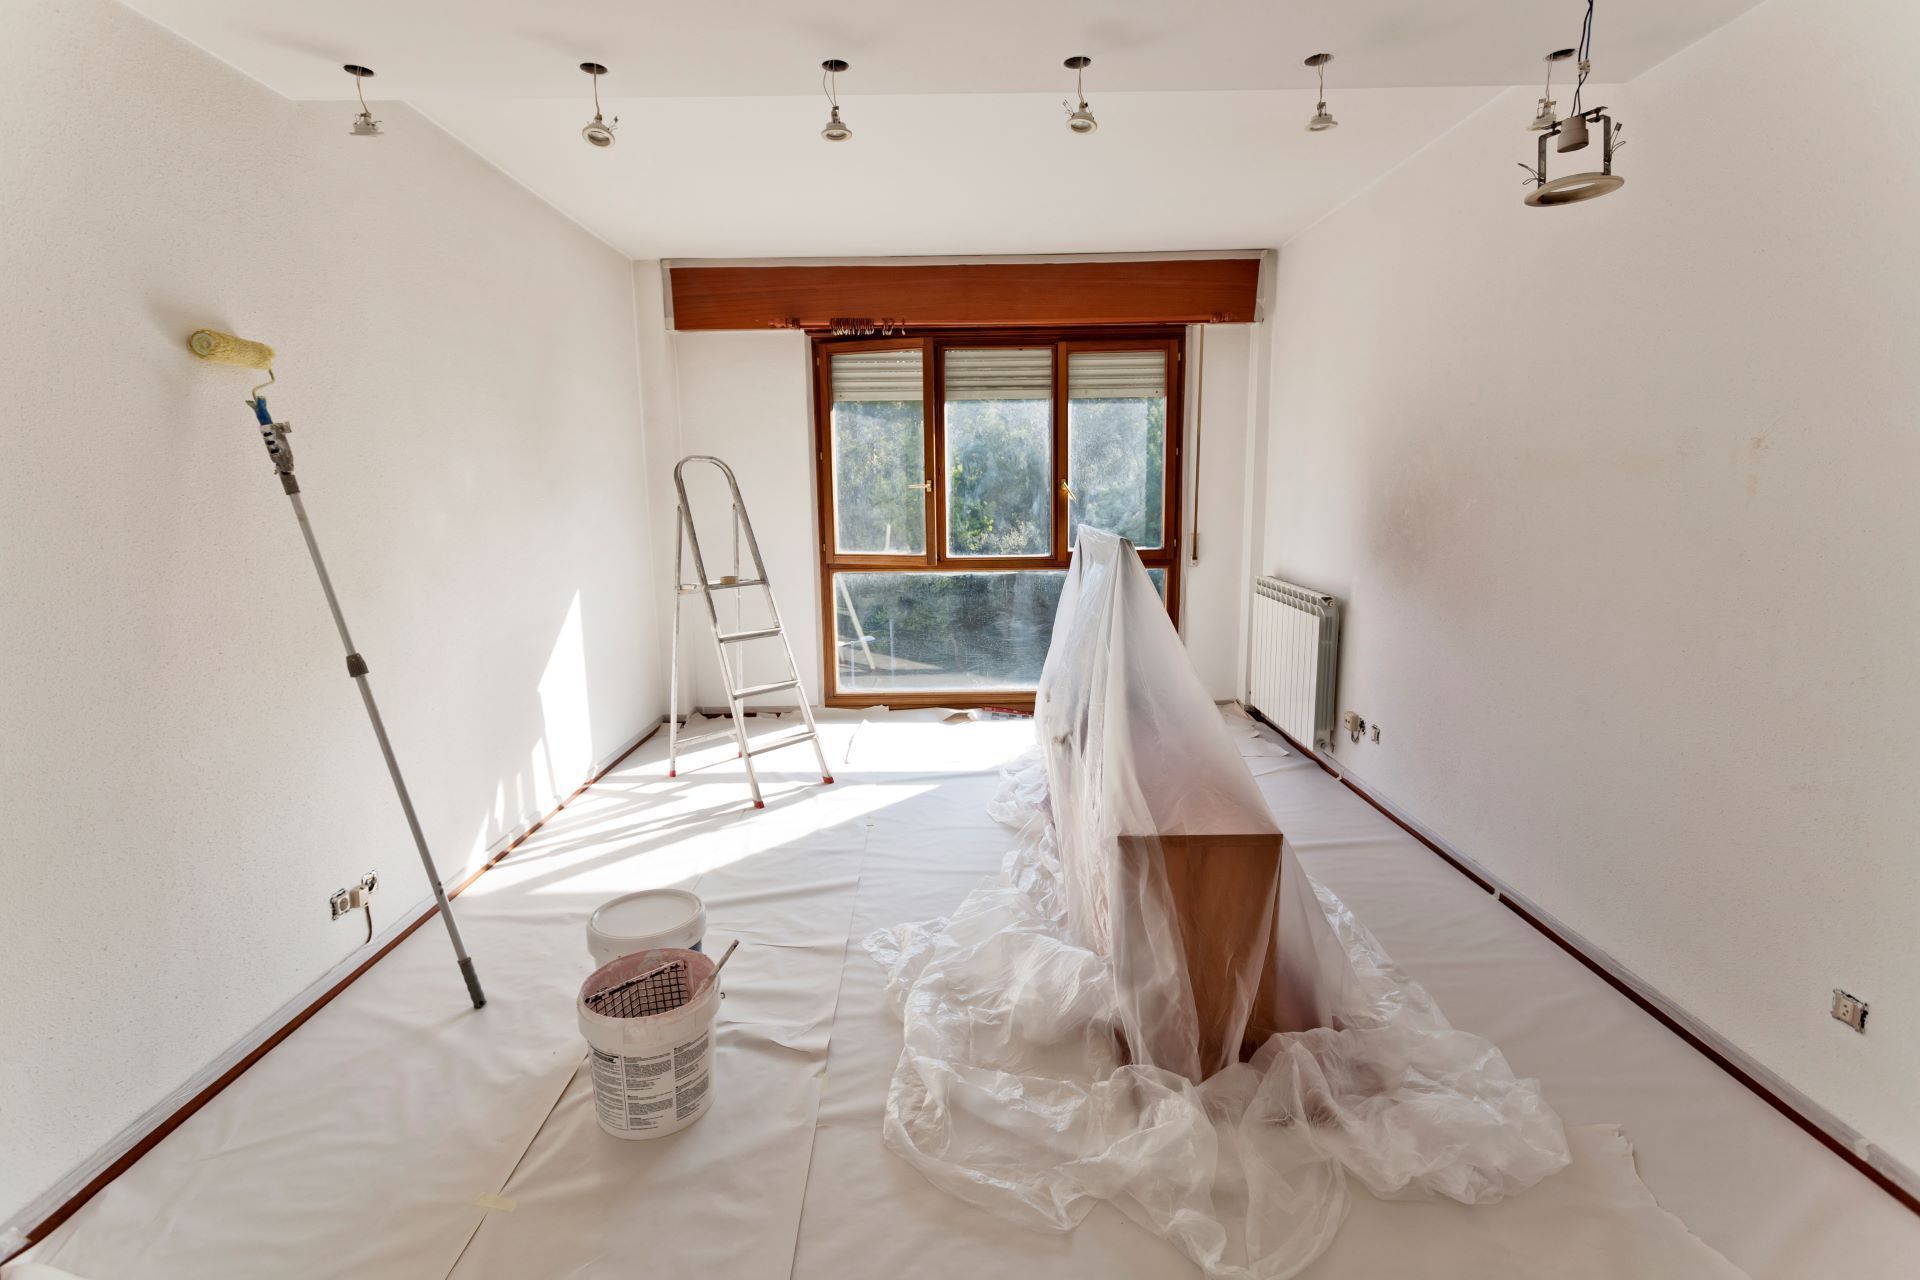
Wondering how much it costs to paint a house interior in Overland Park? Learn about the factors that influence pricing, get cost estimates, and discover tips for saving money. Contact Cougar Painting for a free quote today!
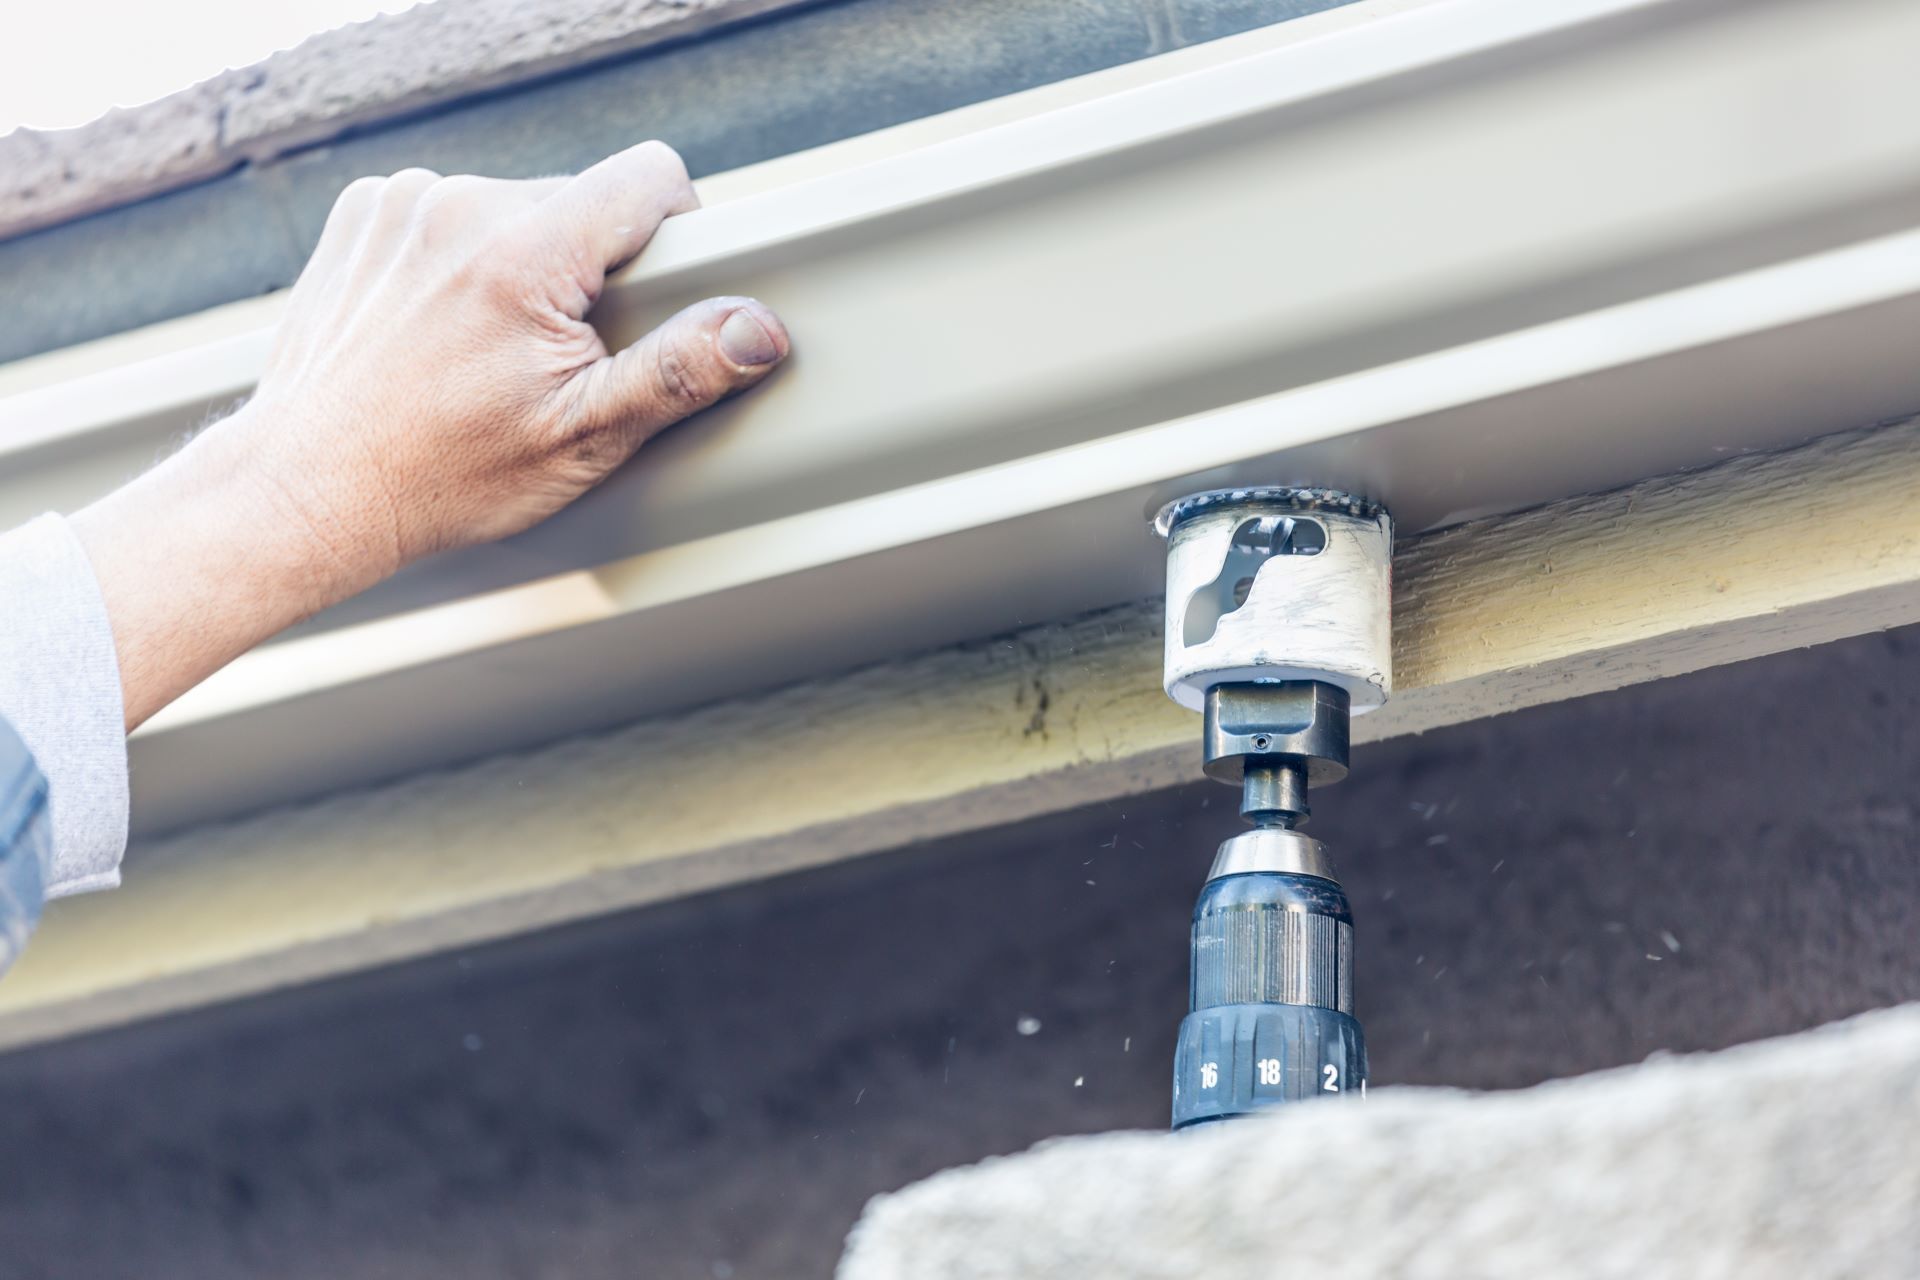
Discover the average cost of gutter replacement in 2024, factors that affect pricing, and signs you need new gutters. Protect your home with expert advice from Cougar Painting in Overland Park, KS. Call now for a free inspection and estimate!